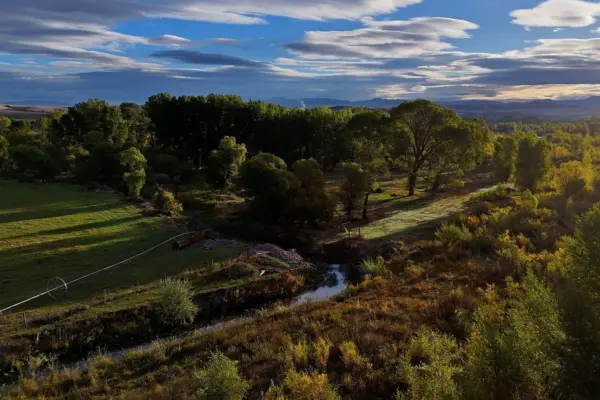
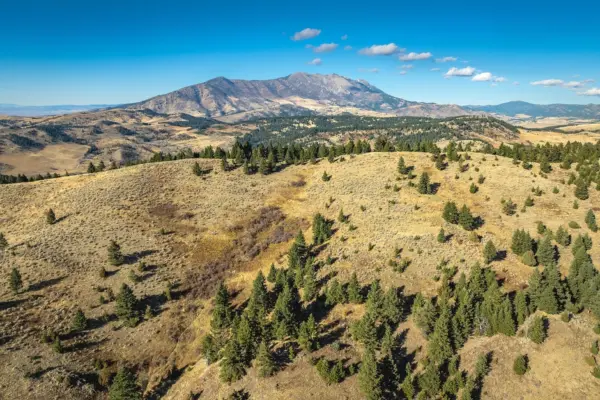
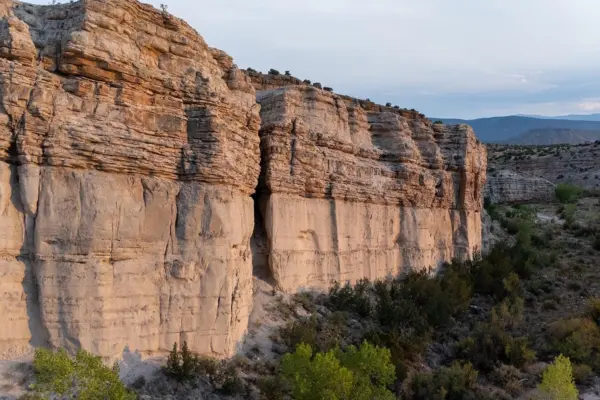
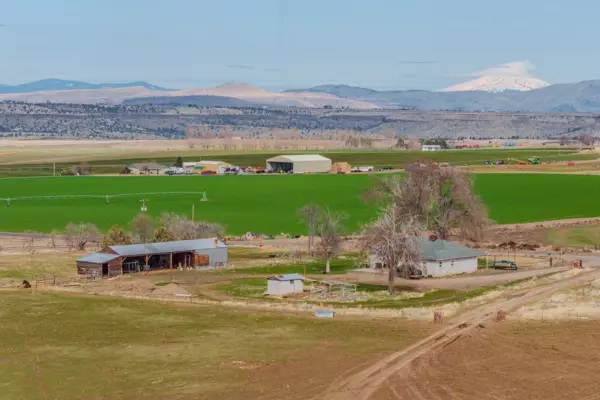
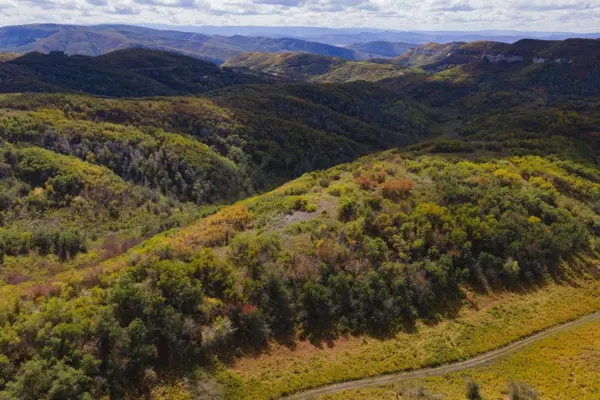
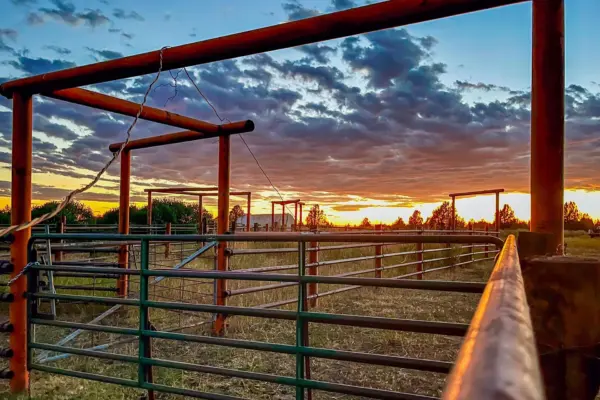
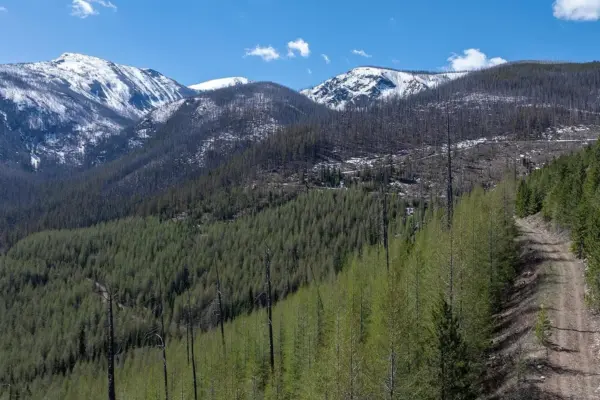
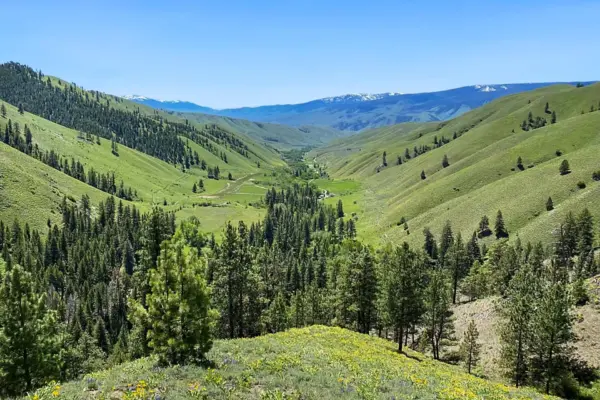
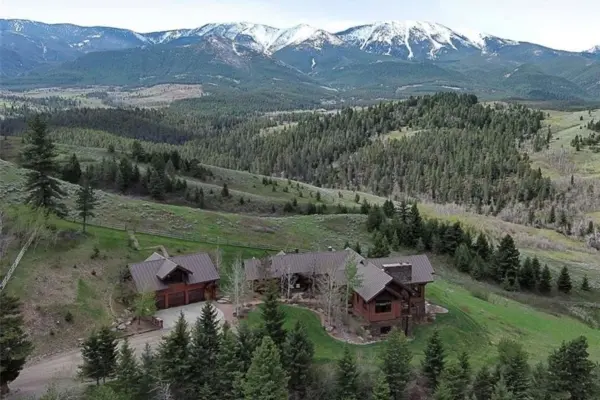
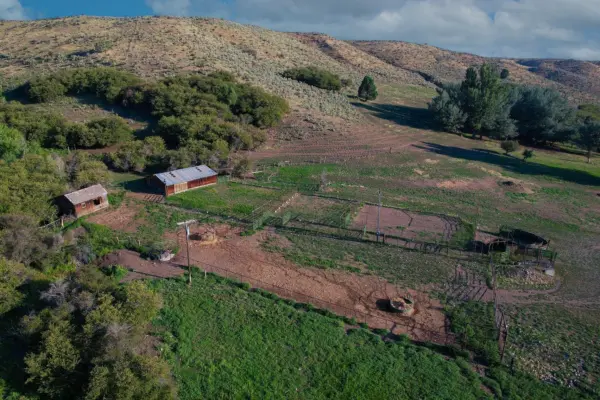
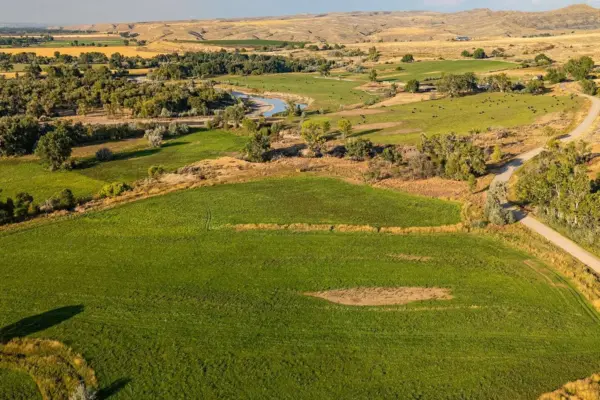
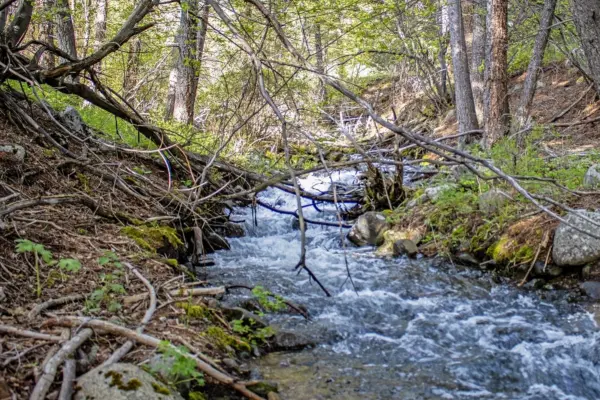
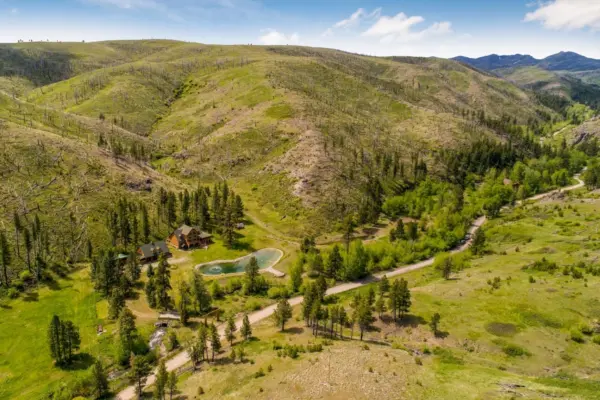
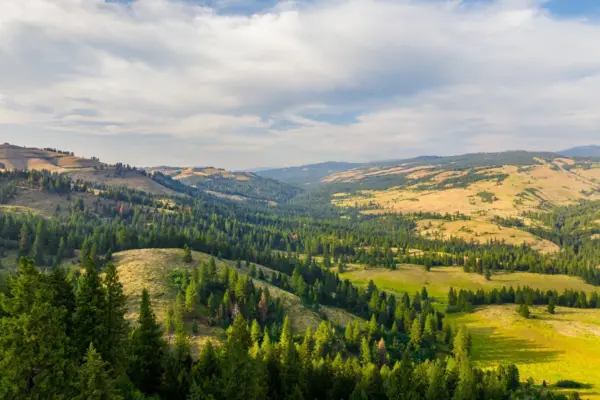
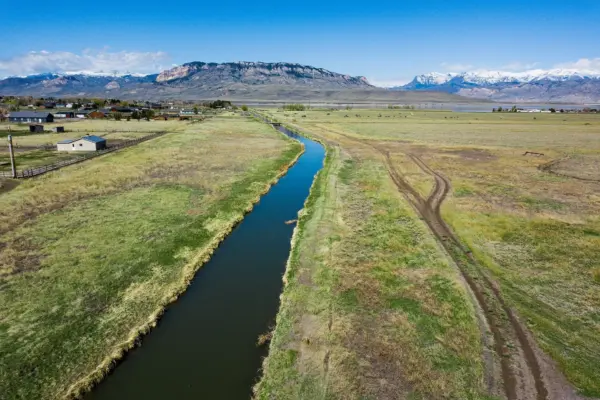
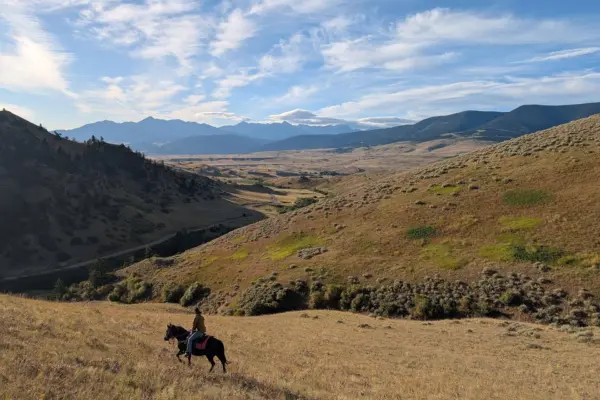
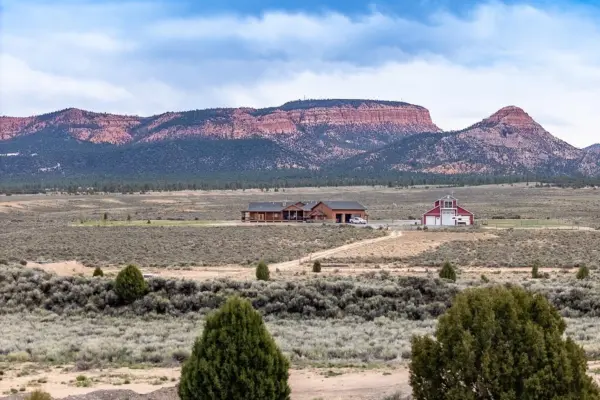
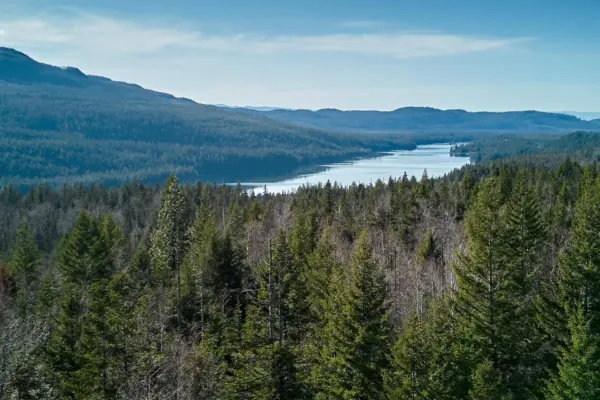
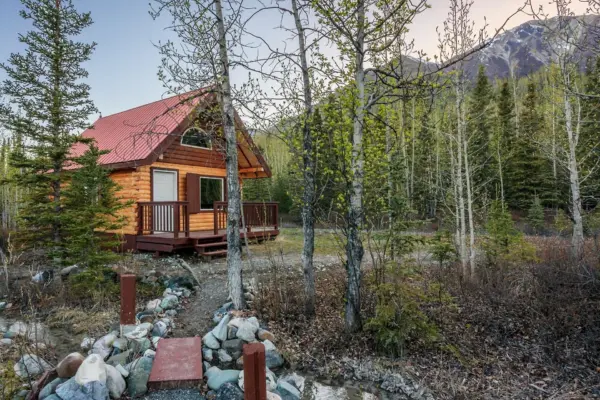
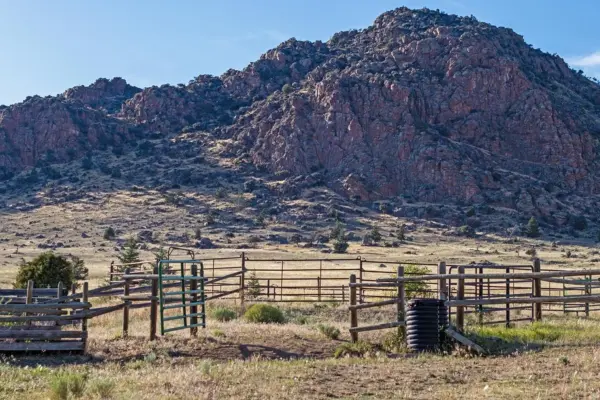
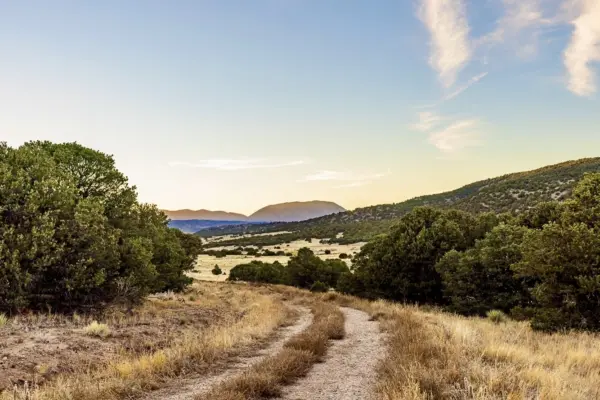
My earliest memory of hunting is stumbling around the fields looking for pheasants with my dad and uncles at seven years old. I filled my first deer tag by the time I was nine years old, and since then have been addicted to it, hunting every season. Growing up on a ranch in Eastern Oregon, immersing myself in the ranching lifestyle, and hunting as many days as I could, led me to my career in the hunting and real estate industries. Hunting was more than just a sport; we provided food for our friends and families. As I grew older, I was eager to experience more involved backcountry hunts. These require hunters to not only harvest, but also break down an animal, pack it out, and process the meat for the table. As a nine-year-old, harvesting my first big game animal was both exciting and rewarding, knowing that the meat from the animal would feed our family.
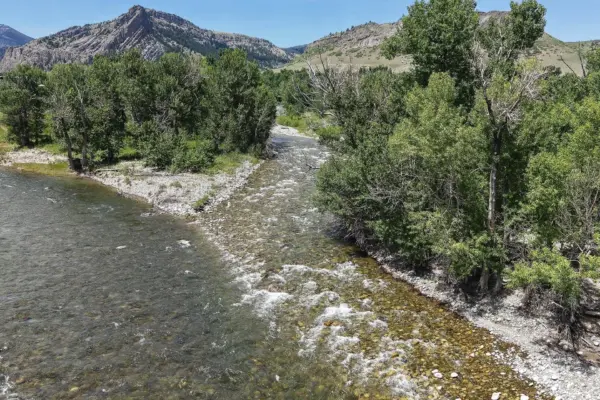
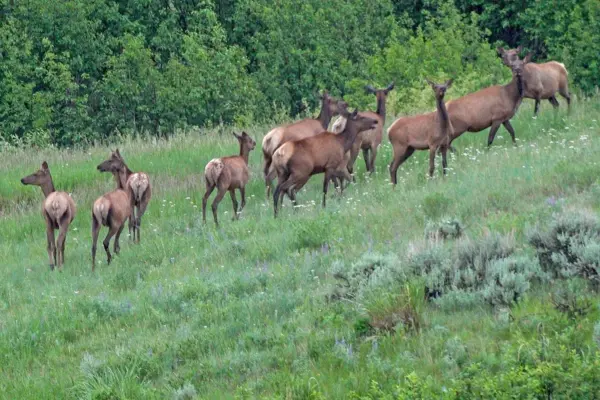
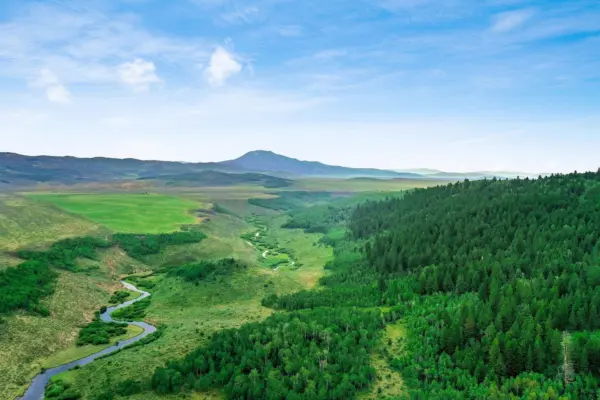
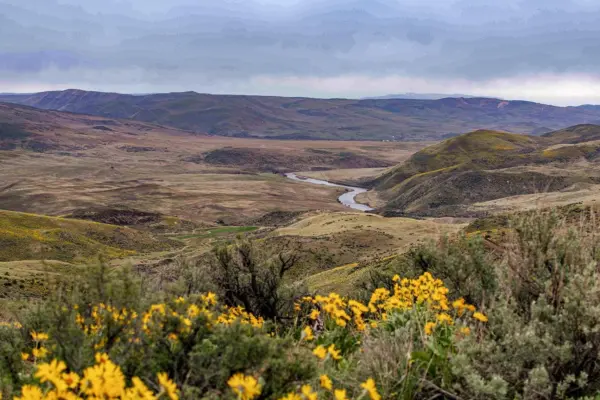
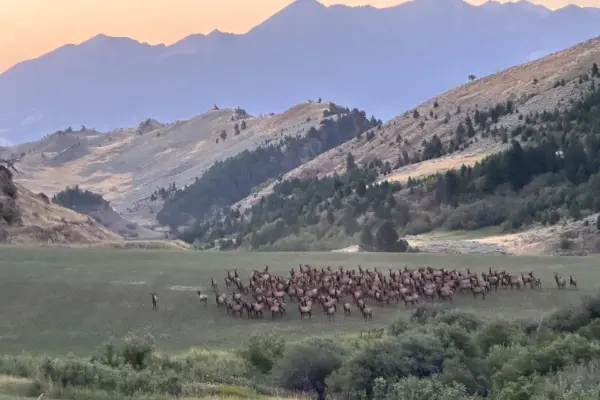
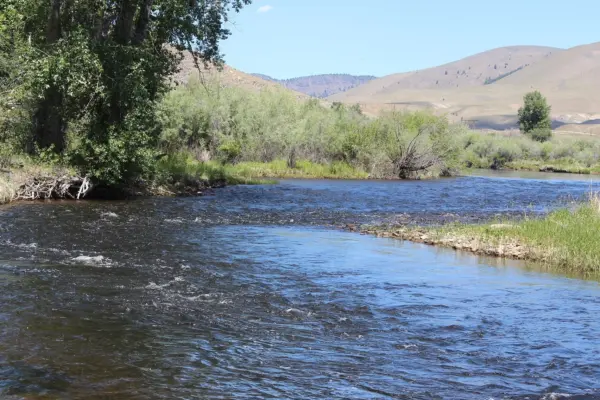
The first time I harvested, broke down, packed out, and processed an animal by myself was during a bull elk hunt in Oregon. Bull elk are large and require work to break down and pack out of remote areas. The minute the elk was harvested, the work began. I had learned how to break down an animal in the field by first seeing and helping a fellow hunter do it; he explained the process as he and I broke down the animal for the pack out. We were using the gutless technique, where we did not gut the animal, but simply cut it into quarters and stripped all the meat from the carcass that we could get off. My fellow hunter knew the animal we had just harvested would be rewarding for me, as at that time I had a new family to support. The focus of this article is on processing a large animal after harvest. Let’s assume the animal has been processed in the field and is ready to be processed for eating and storage.
PLANNING
Have a plan for the meat you are cutting up. Know what you want for the loins, the front quarters, the hind quarters, the neck, the ribs, and the grind (excess meat from the cuts to make hamburger). Educating yourself on the various cuts, and on how to prepare meat for consumption will help you create a plan for the processing.
For packaging the meat, I like to wrap individual cuts in plastic wrap, then in a layer of butcher paper, followed by freezer paper. Also, you can use a vacuum sealer, which is a great way to keep the meat from getting freezer burned.
CLEANING
After harvesting and packing out, it is important to get the meat clean by removing any animal hair and debris that is stuck to the meat and rinsing with cold water. When breaking down an animal in the field, it is important to try to keep the meat as sanitary as possible. This is an important step before beginning the trimming process.
TRIMMING
Once you have finished cleaning the meat, you will then proceed to trim. It is important to have sharp knives appropriate for trimming and cutting meat. First, trim the outer layer that has hardened. Sometimes you can remove it like a banana peel; other times, you need to trim with a knife. If you prefer cuts of meat that don’t contain much fat, it is important to remove any excess. In some instances, the fat you leave on the meat may cause it to taste a bit “gamey” when cooked and prepared for consumption. Some of the fat an animal may contain will be very wax-like, and can be a bit unpleasant when eating. Also, along with some excess fat, there will be tendons and other connective tissue that will make the meat tougher to chew. When I trim fat and tissue off the meat, I make sure I do not trim too much. Trimming too much can be a waste of good meat.